
1. Document the wall before changing it
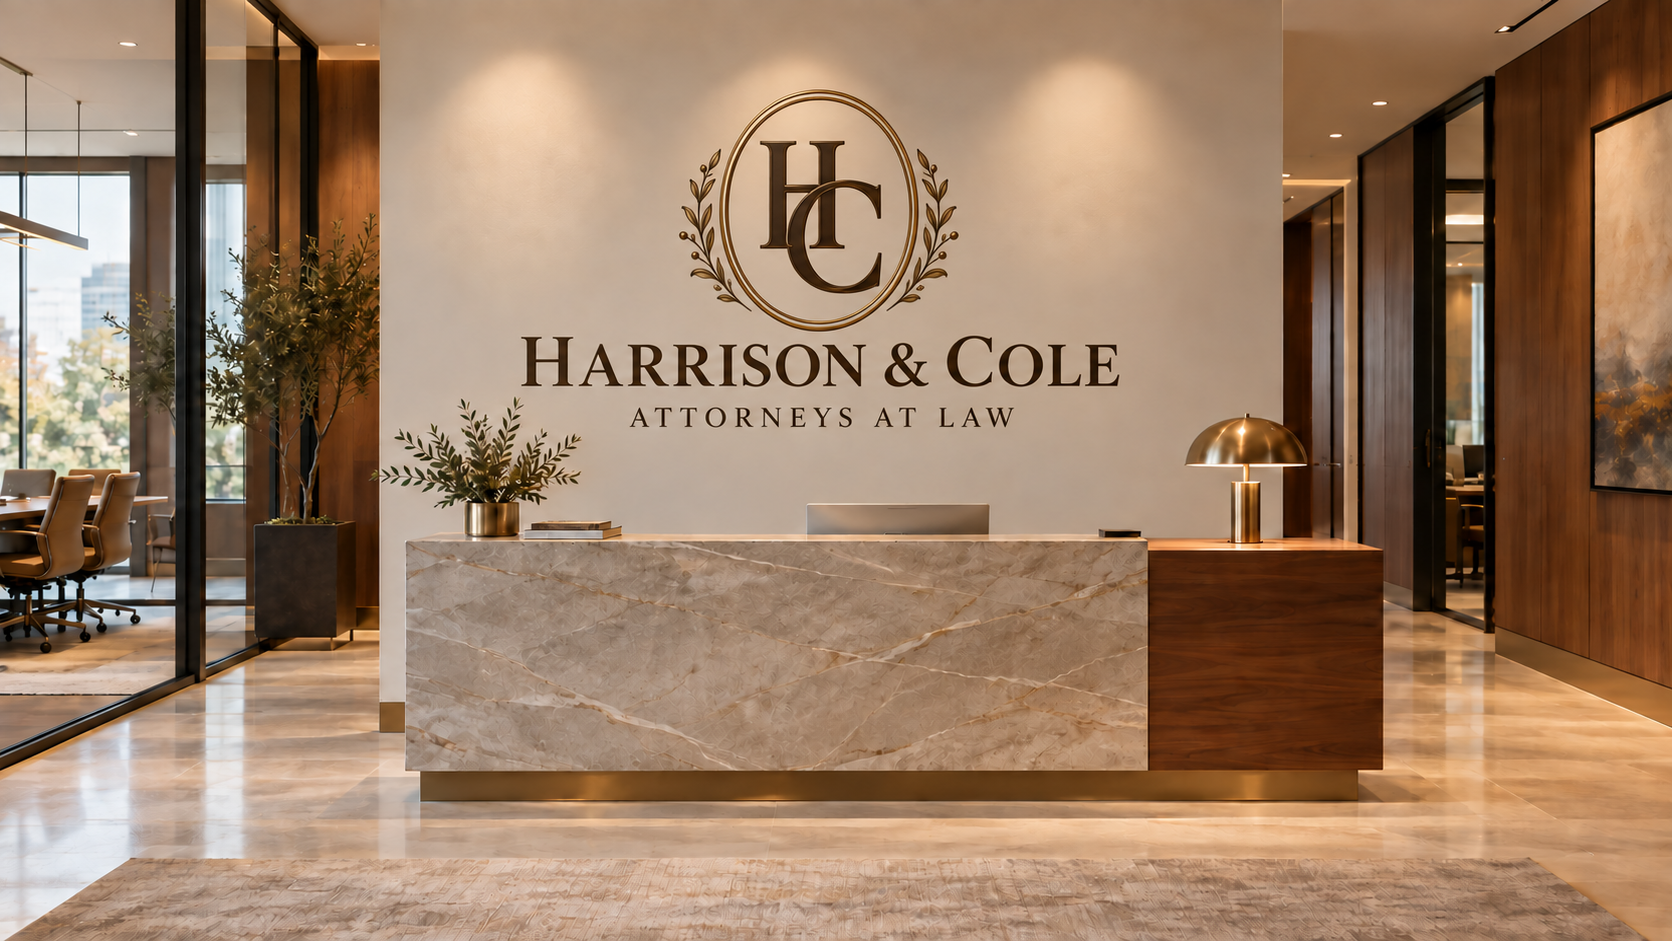
Send a straight-on photo of the whole wall, a close-up of its texture, and a wider view showing the floor and nearby furniture. Include the wall’s width and height, plus the position of outlets, switches, doors, vents, and permanent fixtures. In an office, note where desks or reception furniture will sit so important artwork stays visible.
Also share the surface material and anything you know about its coating. Painted drywall, brick, and other surfaces need different assessments. You do not need to identify every detail yourself: clear photos are a useful starting point.
2. Review surface condition and texture
Flag peeling paint, loose material, cracks, dusty areas, adhesive residue, grease, or signs of moisture. Discuss any repairs or cleaning before scheduling the print. Avoid applying an unfamiliar cleaner or coating just to get the wall ready.
The wallPen E2 manufacturer’s manual recommends checking each substrate and testing unfamiliar materials. It specifically identifies contamination and coating differences as factors to review. A textured wall may be a candidate, but a photograph alone cannot confirm that it is suitable for the chosen artwork.
3. Allow for fresh paint to cure
If you are repainting, share the product name, finish, color, and application date before booking the mural. A wall that feels dry may still be curing.
Benjamin Moore distinguishes drying from curing and notes that temperature, humidity, and airflow affect drying. Check your specific paint’s technical data and agree on readiness with the print provider. There is no single waiting period that fits every paint and room.
4. Plan the artwork within the printable area
Measure the whole wall, but treat the final print area as a separate decision. Wall Stories Creative plans artwork to feather or fade before the ceiling, floor, left edge, and right edge. Keep logos, faces, and lettering comfortably within those limits. Exact spacing depends on the wall and the proposed setup.
For an office logo wall, leave enough space around the mark to keep it readable. For a mural, choose a composition that can transition naturally into the background. See our office reception wall guide for ideas about placement and first impressions.
5. Confirm access before print day
Include the area in front of the wall in your planning. Discuss movable furniture, floor conditions, access to the room, and suitable work hours. For a busy office or restaurant, agree on how the work area will be kept clear of customers and staff. Ask what clearance is needed for your specific project rather than assuming a standard distance.
Do I need to repaint or prime first?
Not automatically. The existing finish may be suitable, or the surface may need preparation. Share its condition and paint details before buying materials. Any recommendation should match the actual wall and printing system.
Your consultation checklist
Have these ready: full-wall and close-up photos; width and height; fixture locations; paint details and recent repair dates; your logo or artwork references; and any access restrictions or target date. These details make the first conversation more productive without requiring you to decide every technical step.
Technical references: wallPen E2 User Manual, version 2.1.9, section 11.3 (2025), and Benjamin Moore’s “How to Make Paint Dry Faster.” The preparation checklist above is practical planning guidance; final suitability requires review of your project.
Have a wall in mind?
Send Wall Stories Creative your wall photos, approximate dimensions, and the idea you want to bring into the room. We’ll discuss the surface and next steps for your custom wall printing project.
Request a consultation